
Renovating a Caravan on a Tight Deadline
Publish date: January 2023.
We’ve shared plenty of incredibly inspiring stories as part of our Real RV Reno series.
This could well be the most ambitious.
Sunshine Coast-based, Janelle, gave herself just six weeks to complete a major caravan overhaul – and on a strict budget – prior to a planned group getaway.
Here, the mother of four details how this almighty project played out, including unwittingly having her best friend join her for the ride.
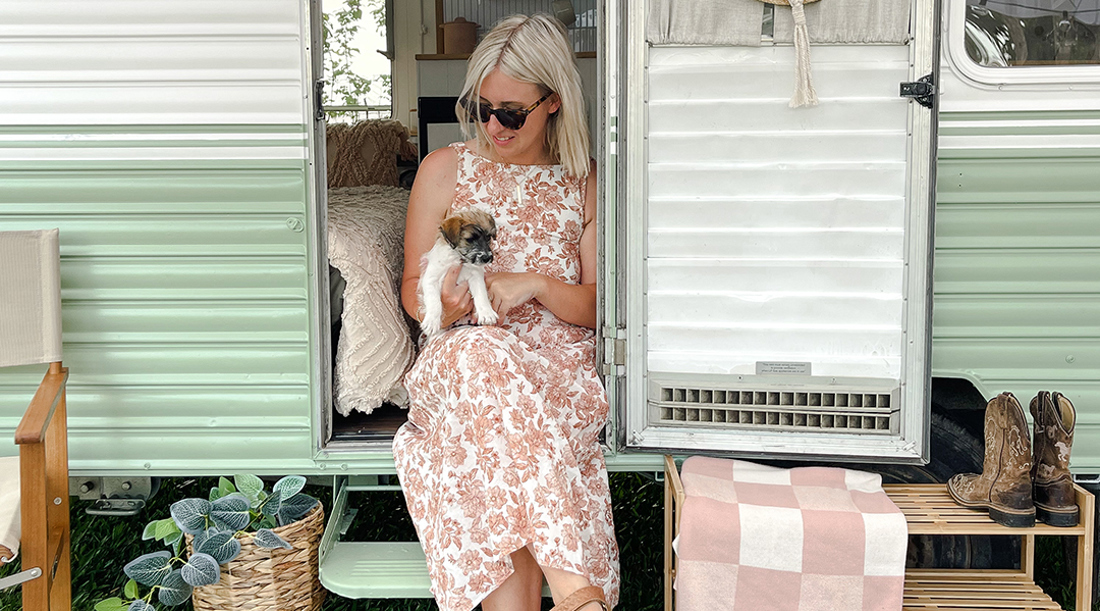
Meet Janelle. She has an inspiring story to share.
Tell us about your caravan…
It’s called Greta and she is a 16ft-long, 1979 Casavilla caravan. We found her on Facebook Marketplace, two hours from home.
How long were you looking for a van?
I’ve always wanted to ‘do up’ a caravan. We had recently been on a camping trip, and with the four kids it was just getting difficult.
I always window shop on Facebook Marketplace and came across this caravan. I mentioned (partially joking) to my husband, Lewis, that if I offered the owners $2500 less than they were asking, would he be happy if we bought it. His response was “sure”.
We got close. The owners came back accepting $2000 less than the asking price and we left the next morning to pick it up!
Greta was snapped up for a reasonable price.
Could you detail Greta’s past?
She was in original condition – the family selling the van were its second owners. They also had four children and had just travelled halfway around Australia with her.
Greta was on the market because the family were upgrading to an off-road set up.
What drew you to tackle this project?
I love a good project. I’ve always been inspired to renovate a caravan, and I liked so many aspects of this one.
The biggest factor for us was fitting all our kids in a small caravan. This van was a win for us. It had a good layout, and the chassis was in great condition (this was a hugely important factor for Lewis).

Fortunately, Greta was in good condition to begin with.
Had you completed anything like this before?
Never a caravan. I’ve done furniture upcycling and mini-renovations over the years, including on our current home. So, I know my way around a paint brush, sander, and basic tools.
However, this was definitely a step up from anything I have done, and it challenged me in so many ways – all positive!
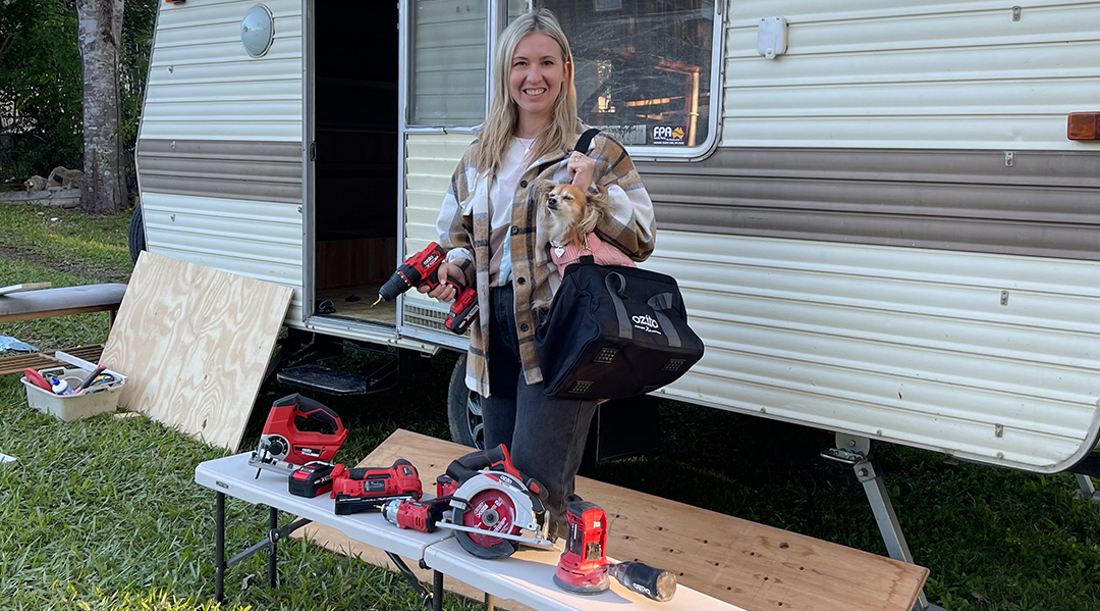
Janelle is no stranger to renovations, but this was a step up.
How did the reno play out?
We had the caravan for almost a year before I finally felt ready to tackle the project.
Our friend group loves camping and had set a date the following month to go away – in only six weeks’ time.
I made a comment to my best friend, Jess, that I wanted to start the renovation on Wednesday with the aim of getting the interior completed for the upcoming trip.
On Wednesday morning, Jess messaged and said, “Do you want help with the van today? Let’s get it started!”. And she came over to my place.
Little did I know, Jess wasn’t just coming over for the day. She was just as excited and inspired as I was, and she ended up doing the entire interior renovation with me! She helped me lay out the plan, the vision, brainstorm, and get into all the tough jobs!
Jess even came over some days that I wasn’t home, as we had this set timeline, so we needed to get it done!

Jess – the type of best friend we all need.
Towards the end of the job, our to-do list was insane! We were literally running from task to task, racing to beat the sun. When we didn’t beat the sun, we’d just work into the night with spotlights.
I absolutely couldn’t have done it without Jess, and it was one of the best experiences in my lifetime.
To complete a project like this alongside my best friend…the laughs, the frustration, and then the complete ‘winging’ it and ‘she’ll be right’ attitude created a lifelong highlight.
A funny sidenote: Jess’ husband is a structural engineer and Lewis is a builder. The fact us girls were renovating a caravan without them was laughable.
Yes, we called on them for advice and a few trickier aspects – mostly the use of trickier tools – but even they were surprised and proud that we did this ourselves.
Clearly, the hard work paid off.
What did the reno involve?
Besides the six-week timeframe, our biggest challenge was that we didn’t have a huge budget. This meant it was mostly about ‘sprucing up’ the van.
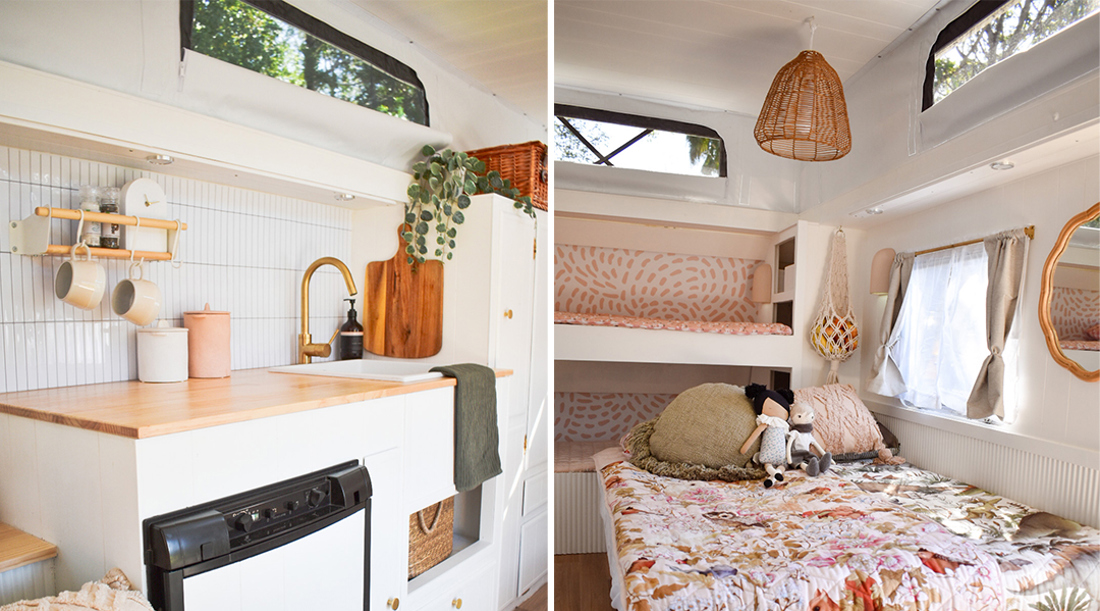
For the interior we:
- Painted
- Fixed panels
- Added new flooring
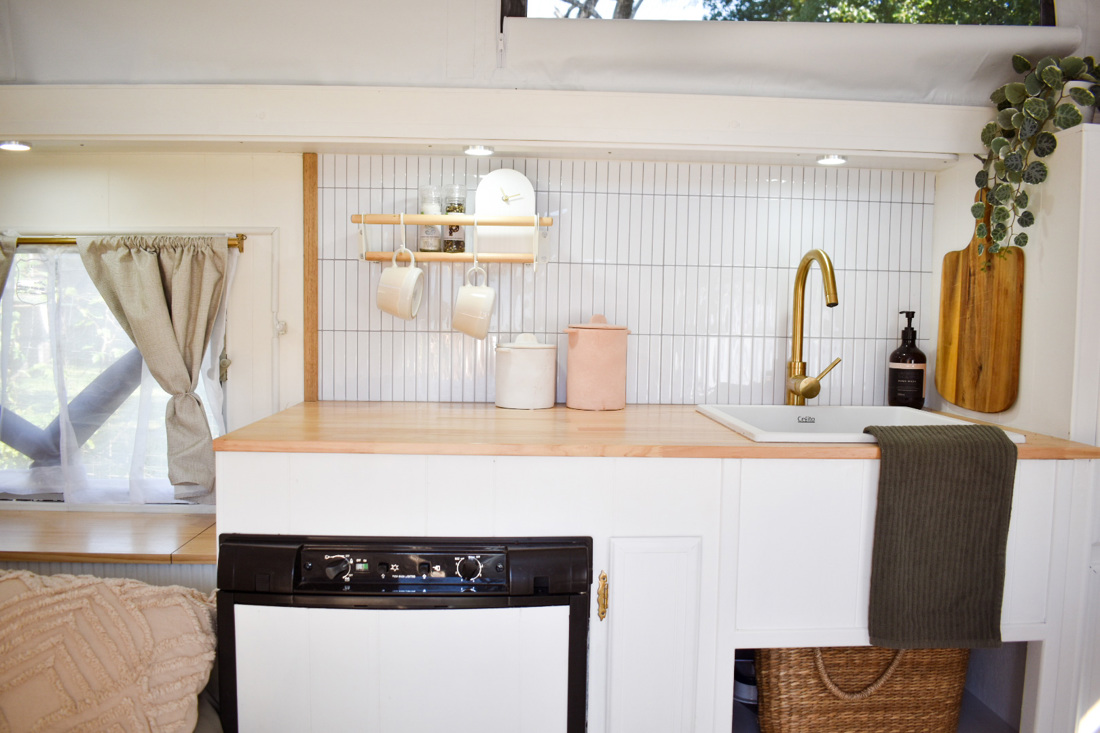
- Replaced benchtops
- Added a new kitchen sink
- Added a new kitchen tap
- Added new handles
- Added a new pop-top canvas.
- Added new lighting and electricals
- Added new shelving in cupboards/created storage solutions
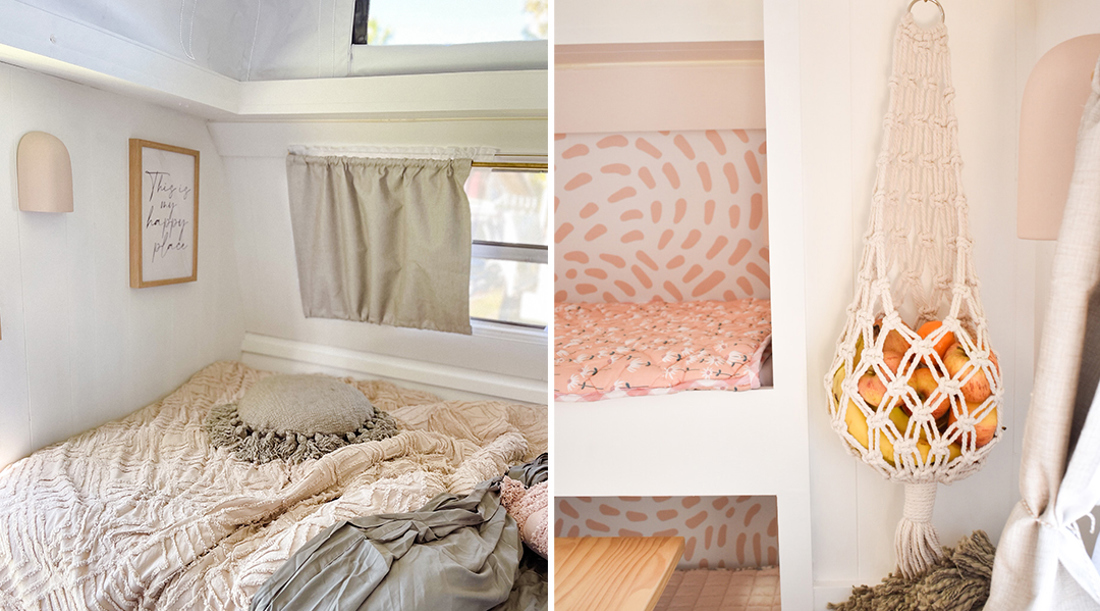
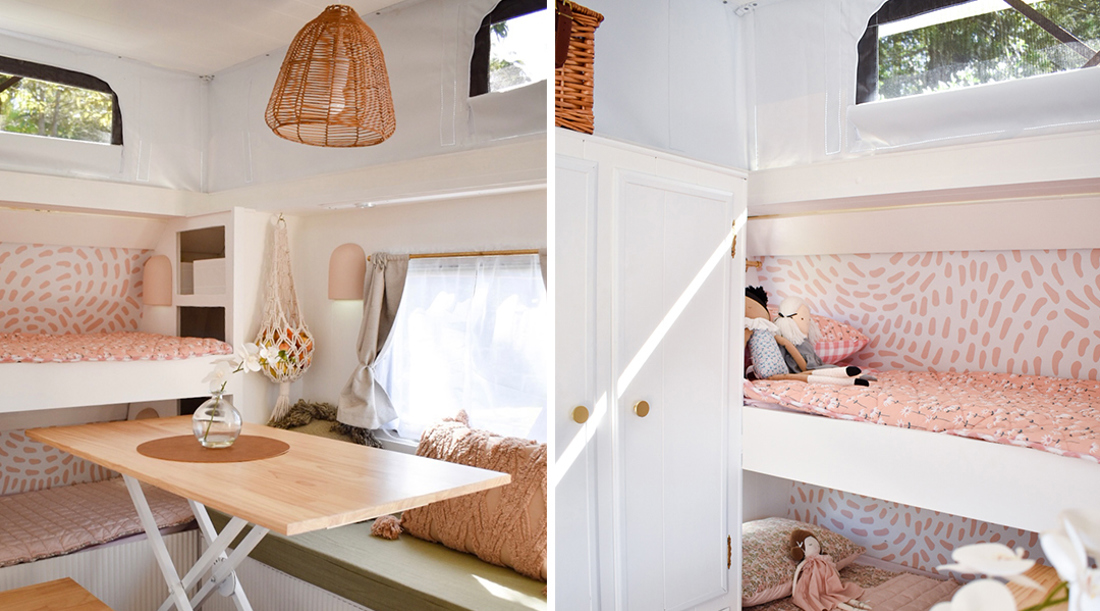
- Reworked the bunks*
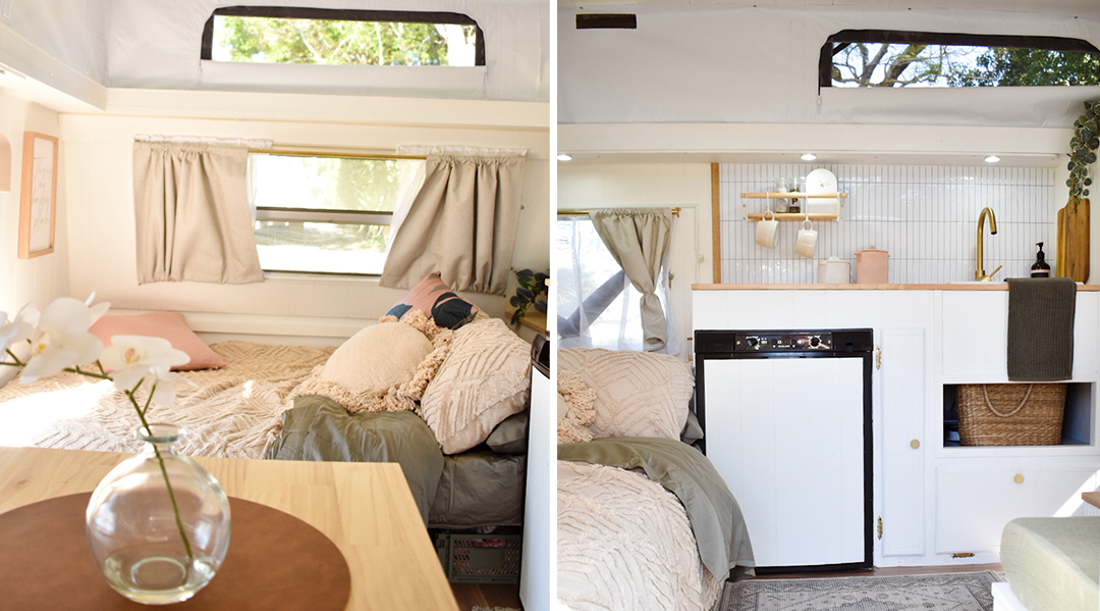
We also spent time creating several beautiful features: convex panelling, wallpaper, feature splash-back tiles, as well as decorating.
*We had to work out a way to sleep four kids in the van. We ended up creating a set of bunks to sleep two kids, while our third one sleeps on the couch seat. The table, which is made from a keyboard stand, drops down, and then the additional seats add some length to the table to make a bed for our fourth child, which is pushed right next to the couch. The mattress for this bed is stored away until we need it.
'Sprucing up' seems a bit of an understatement.
Exterior
This was completed in an additional two-week period following the reworking of the interior (and after we went away on the camping trip). For this we undertook:
- The removal of old, messy silicone
- New silicone/waterproofing
- New windows
- New awning
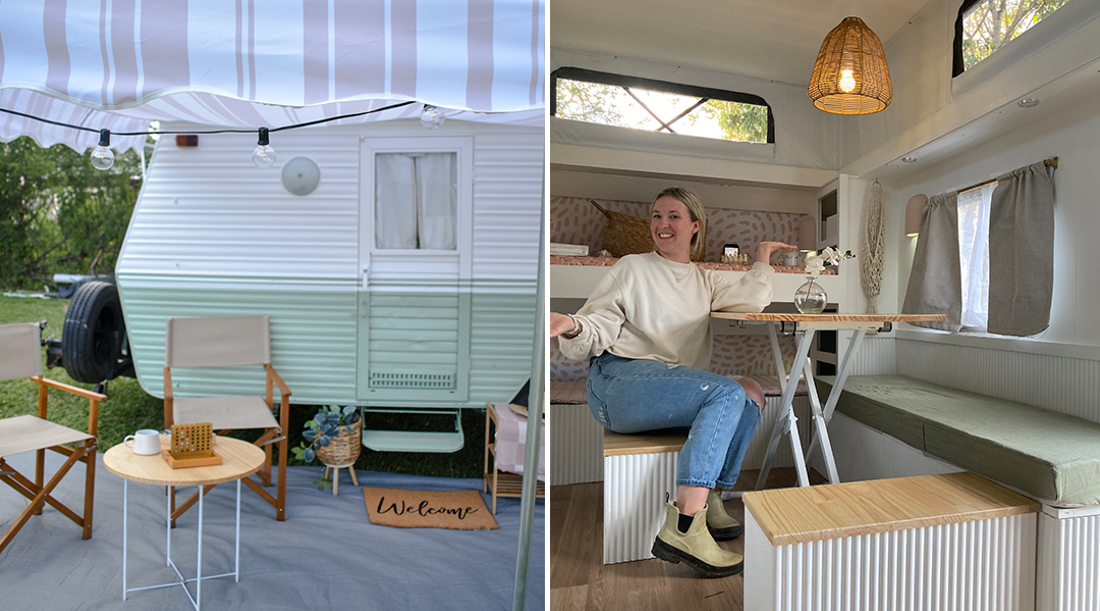
- Fresh paint: two colours for paint feature and the addition of two pin stripes to give it a 'pop'
- Touch ups in some areas
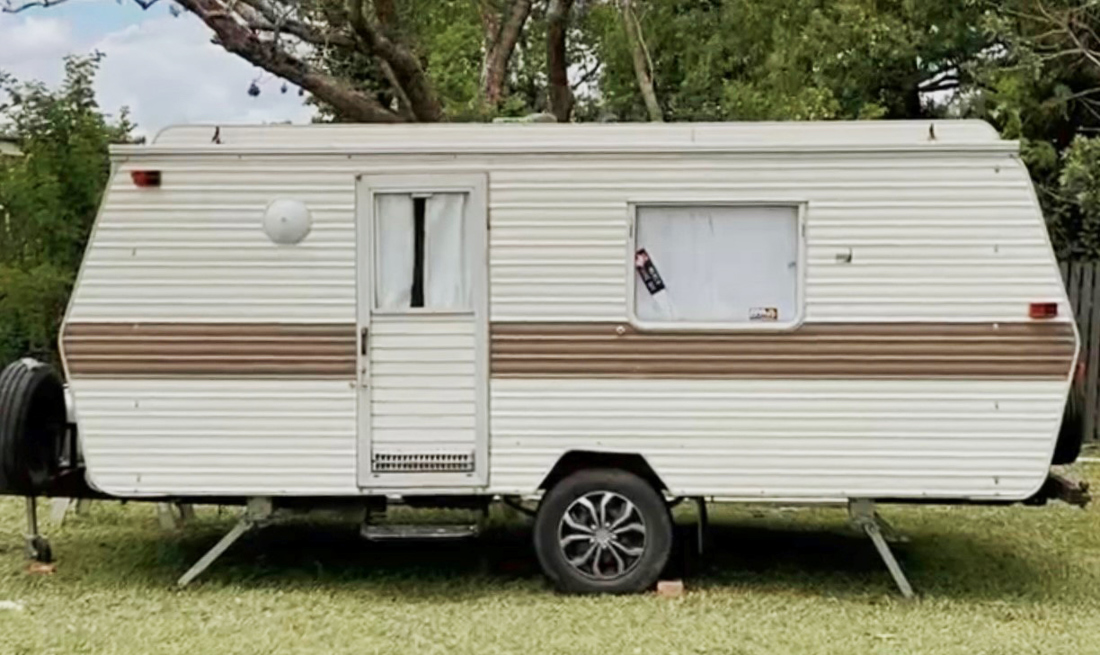
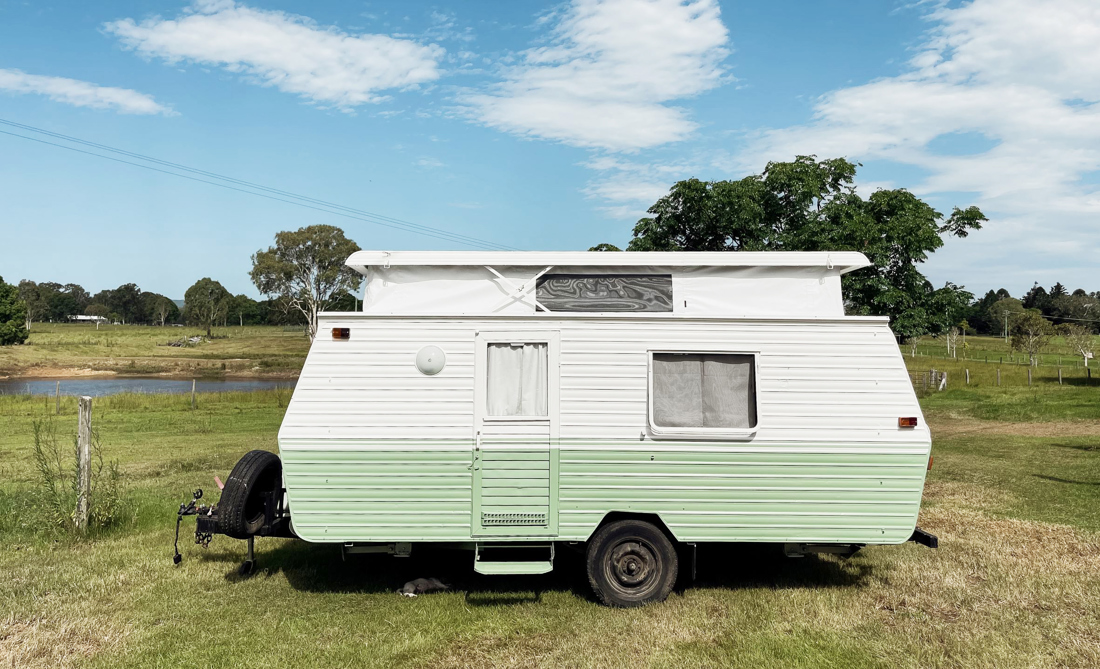
A 'before' shot of the exterior...
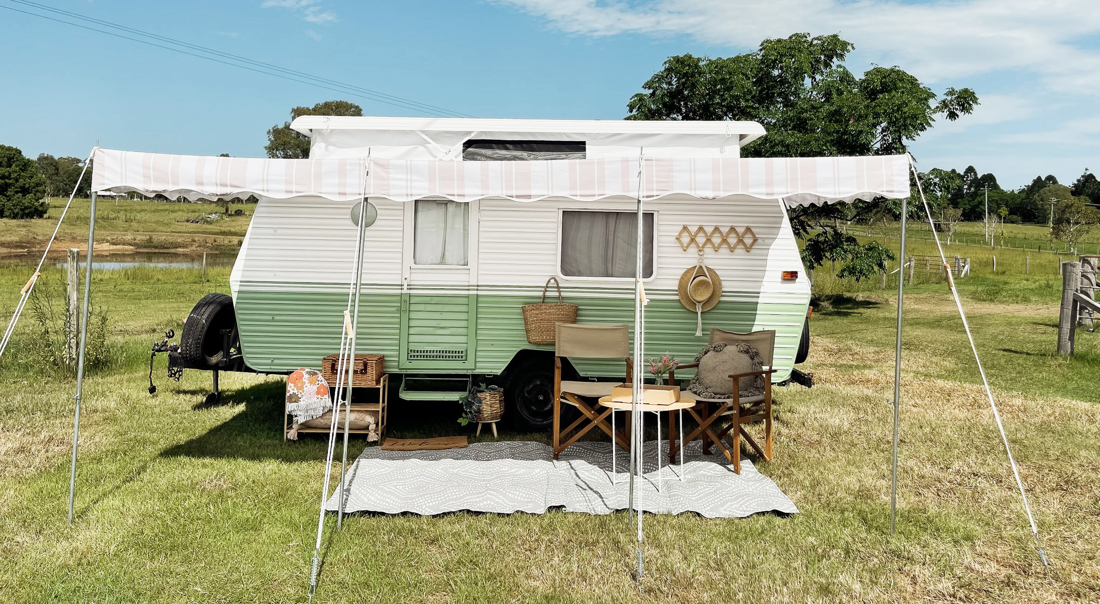
Voilà! A fresh coat does wonders.
Did you meet your deadline?
Yes! Jess and I completed the interior in six weeks, with our husbands helping with a few random jobs along the way.
We only worked every Wednesday when we had no kids (school and daycare day). Then, usually one or two afternoons after school when the kids ran around – there were six of them between us, including two toddlers!
We usually did one day each weekend. Towards the end, we did a couple of night shifts of painting and other quiet jobs, too.
How do you like them apples?
Exterior:
My mum was visiting at the time and helped with the planning and prep: Cleaning the van, scraping the silicone (worst job), and taping up. We probably spent four full days just removing silicone and cleaning! Then it was taping and paint prep.
Painting was one undercoat, two top-white coats, and two green coats for the bottom half. This was painted over a week. My spray gun was so good. It decreased the painting time dramatically – literally 20min max. for spraying each component.

Jess can hang her hat on the exterior work.
What was most challenging about the process?
Probably working out the electricals, as my budget was so small. We ended up removing the 240v and just having 12v off the battery. This was a huge call, but it works perfectly fine for us.
A huge mental challenge was working out the bedding options for my third and fourth children, as I’ve outlined above. But it was so worth it in the end! It cost barely anything and was so easy to put together.
What was easiest and/or most rewarding?
The most instantly rewarding part was the painting inside and out. Immediate difference!
Tackling the flooring was long and annoying but so worth it. It brought our vision to life and really boosted us after a couple of weeks of demo work, which gets a bit annoying.
I also love the convex panelling features, as they’re such a nice touch.
There are loads of nice touches inside.
What aspect/s are you most proud of?
Honestly, the whole thing. So many areas required so much detail and effort. I love the small features like the bedhead storage and convex panelling. The wallpaper is so beautiful, and I love the convertible table/couch to bed.
I’m also just really proud of myself and Jess for doing it. It’s one thing to think we can do something and have a vision. But to then pull it off, just us girls with six kids around for 50% of the time, was pretty impressive (if I can say that!).
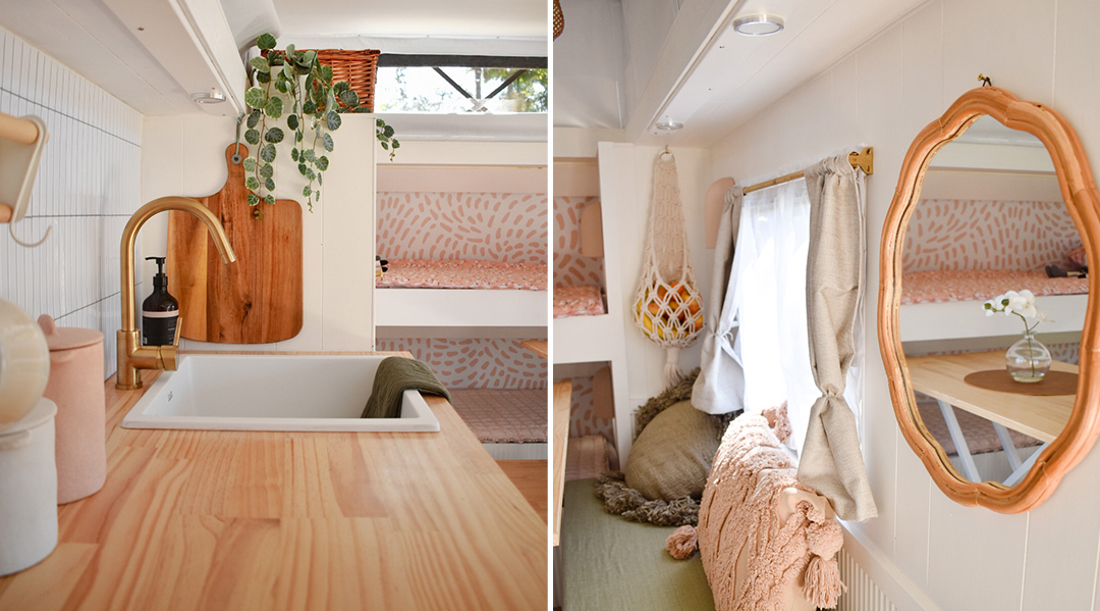
Mirror, mirror on the wall, who's the prettiest van of them all?
What surprised you?
How beautiful it really does look. It’s a very old van.
We didn’t strip the inside like most people do. So, we worked with a lot of what we had. With a very small budget, we really pulled it off.
Halfway through, it dawned on us that we had the perfect van for this project. The layout was great, and the interior walls and panelling are all timber rather than plastic, which helped with ease of painting.
Another pleasant surprise was making a convertible table from a keyboard stand – it actually worked!
The unwelcome surprise was how difficult it was to remove the silicone and prep the exterior. I wanted to give up so many times!
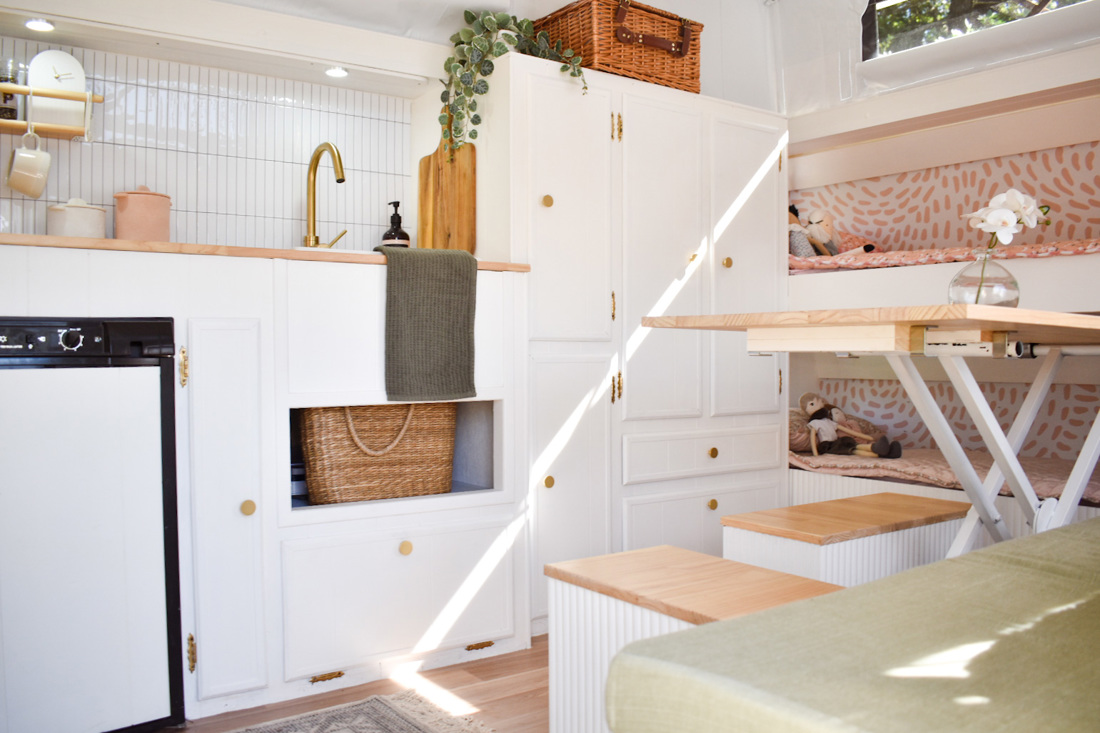
The convertible table installation was a success.
What did you learn along the way?
Three things come to mind:
- How to use a lot of new tools!
- As cliche as it sounds, anything is possible.
- That my best friend and I – even though we are so different – work together so well!
What would you do differently with time again?
I would have loved a bigger budget! It would have been nice and would have helped not to ‘have to’ come up with so many DIY ideas because of a restricted budget.
Also, I’d redo the window coverings and add blinds instead of curtains. I think blinds would look a bit neater.
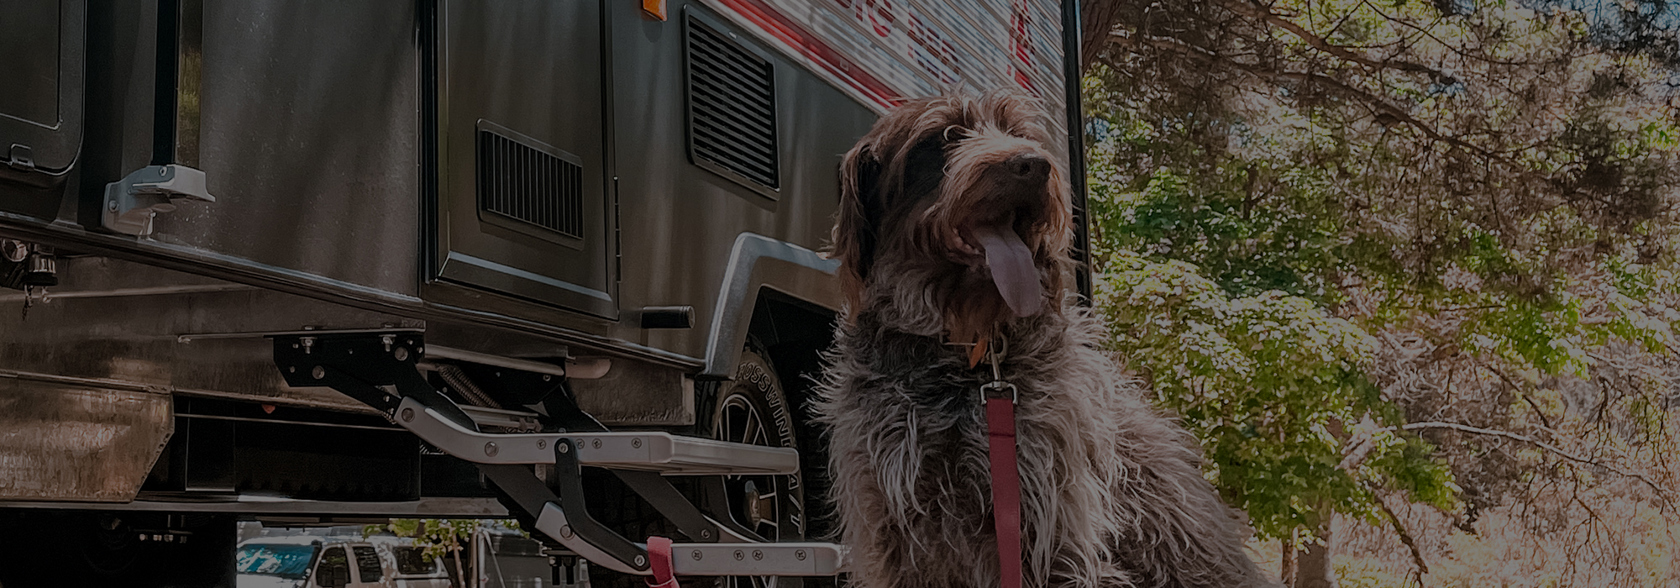
You deserve a holiday, and so does your four-legged friend.
Pet-Friendly ParksAny handy hints for others?
- Go over the entire van first up and make a set plan for each area
- Be patient
- Research what you’re doing. E.g. if you’re painting the interior over any Laminex or plastics, use a primer that can cover it all.
- Keep everything super lightweight! Sometimes that means sacrificing the ideal material for practicality sake.
- 100% use a spray gun for the exterior!
- Keep as much of the original as you can if you don’t want to pull apart the entire van
- Never underestimate the power of prep!
Patience pays off.
Is there anything left to do?
We want to get new wheels and hubcaps – that’s on my husband’s list. And we need to do a few, tiny paint touch-ups on the exterior.
Any final thoughts?
We absolutely love our caravan. When we set it up in the backyard, we find ourselves in it in an absolute state of rest.
It’s comfortable, practical, and beautiful and we are so proud that we turned a brown, dark space into something so bright and light.
We often dream of remodelling another van…watch this space!
Rightfully proud.
Keen to find out more? Follow the adventures on Instagram @ janellejoy_


